This recipe is another great way to use up that leftover Thanksgiving turkey!
Turkey and Wild Rice Bake
12" dutch oven
1 pkg. (6 oz.) long grain and wild rice mix
1 cup chicken broth
3 1/2 cup cooked turkey (or chicken), cubed
1/2 cup chopped celery
1 (10 3/4 oz.) can cream of mushroom soup
1 (8 oz.) can sliced water chestnuts
1 (6 oz.) jar sliced mushrooms, drained (I used sliced carrots instead)
1/2 cup chopped onion
1/2 cup soy sauce
1 cup soft bread crumbs
2 Tbs. melted butter or margarine
In a small dutch oven, over a full spread of coals, cook the rice according to the package directions. Place the rice in a large bowl and add the broth, turkey, celery, soup, water chestnuts, mushrooms, onion and soy sauce. Transfer to a greased 12" dutch oven. Toss the bread crumbs with the butter and sprinkle over the top of the rice mixture. Bake at 350° for 55-60 minutes or until heated through. Use 1 1/2 rings on top and 1 ring on the bottom. Serves 8.
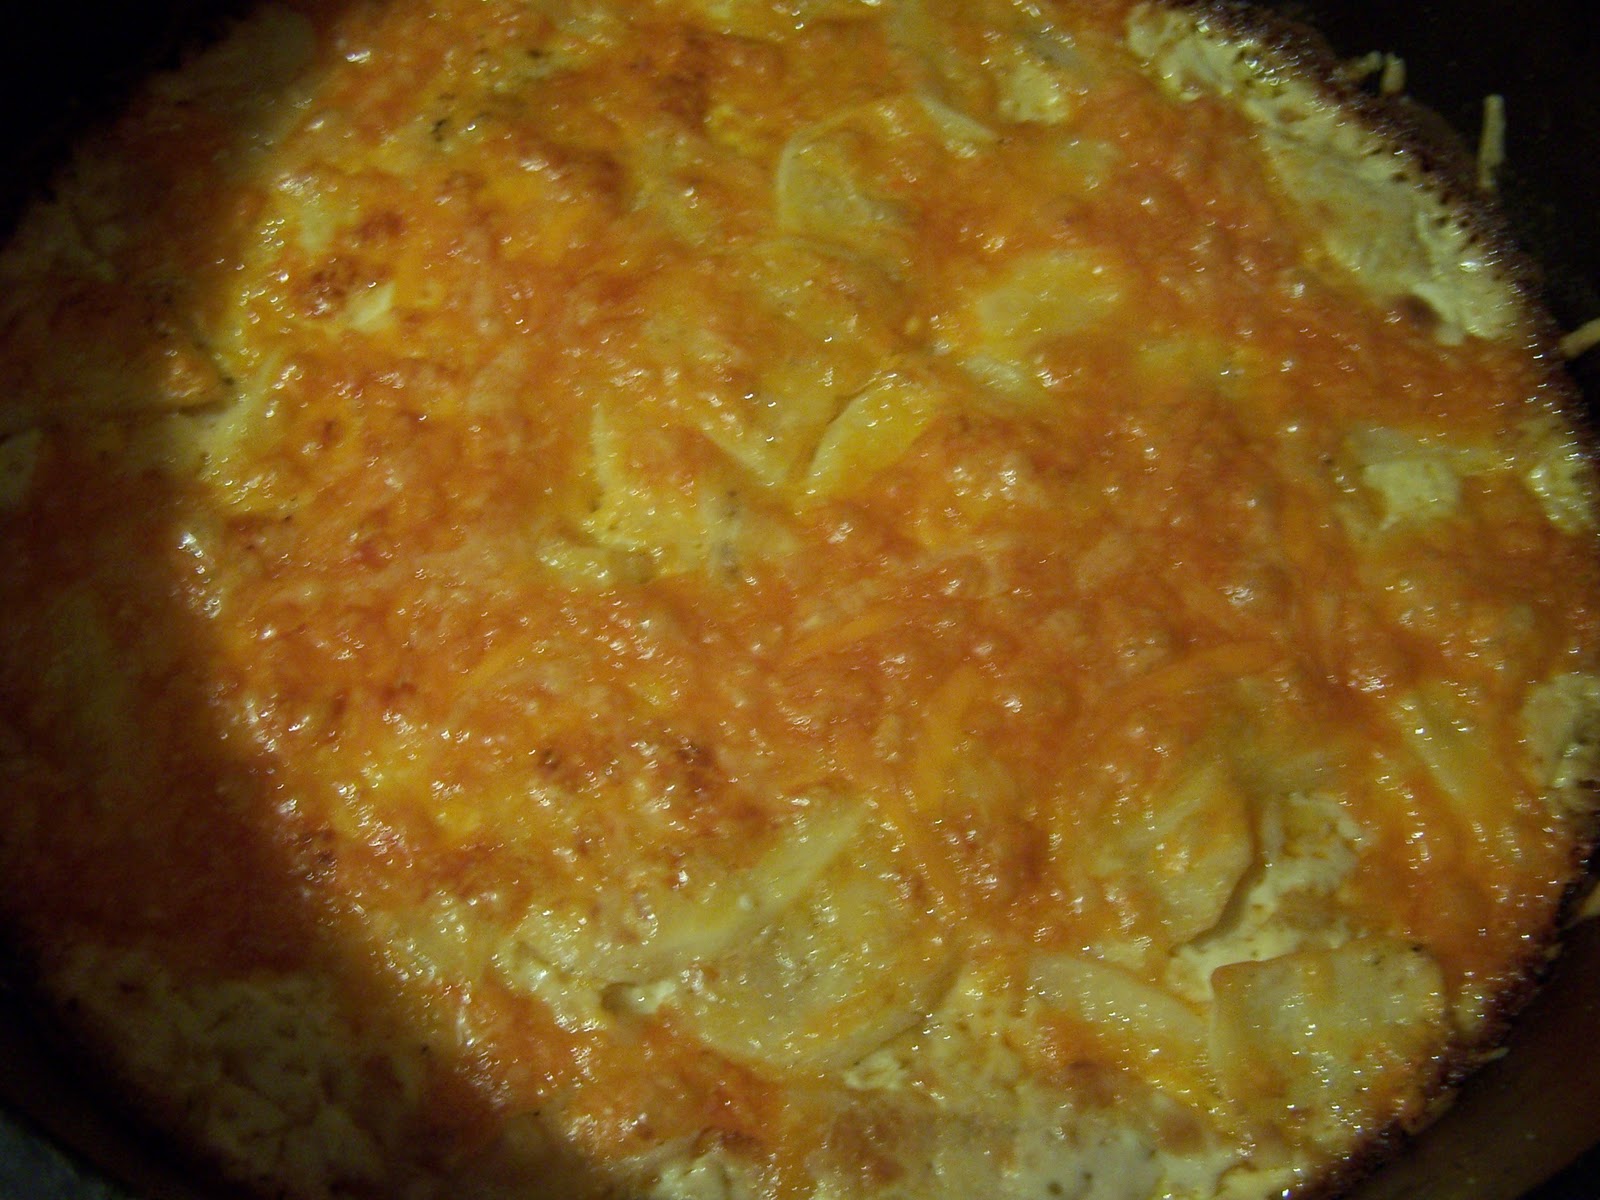
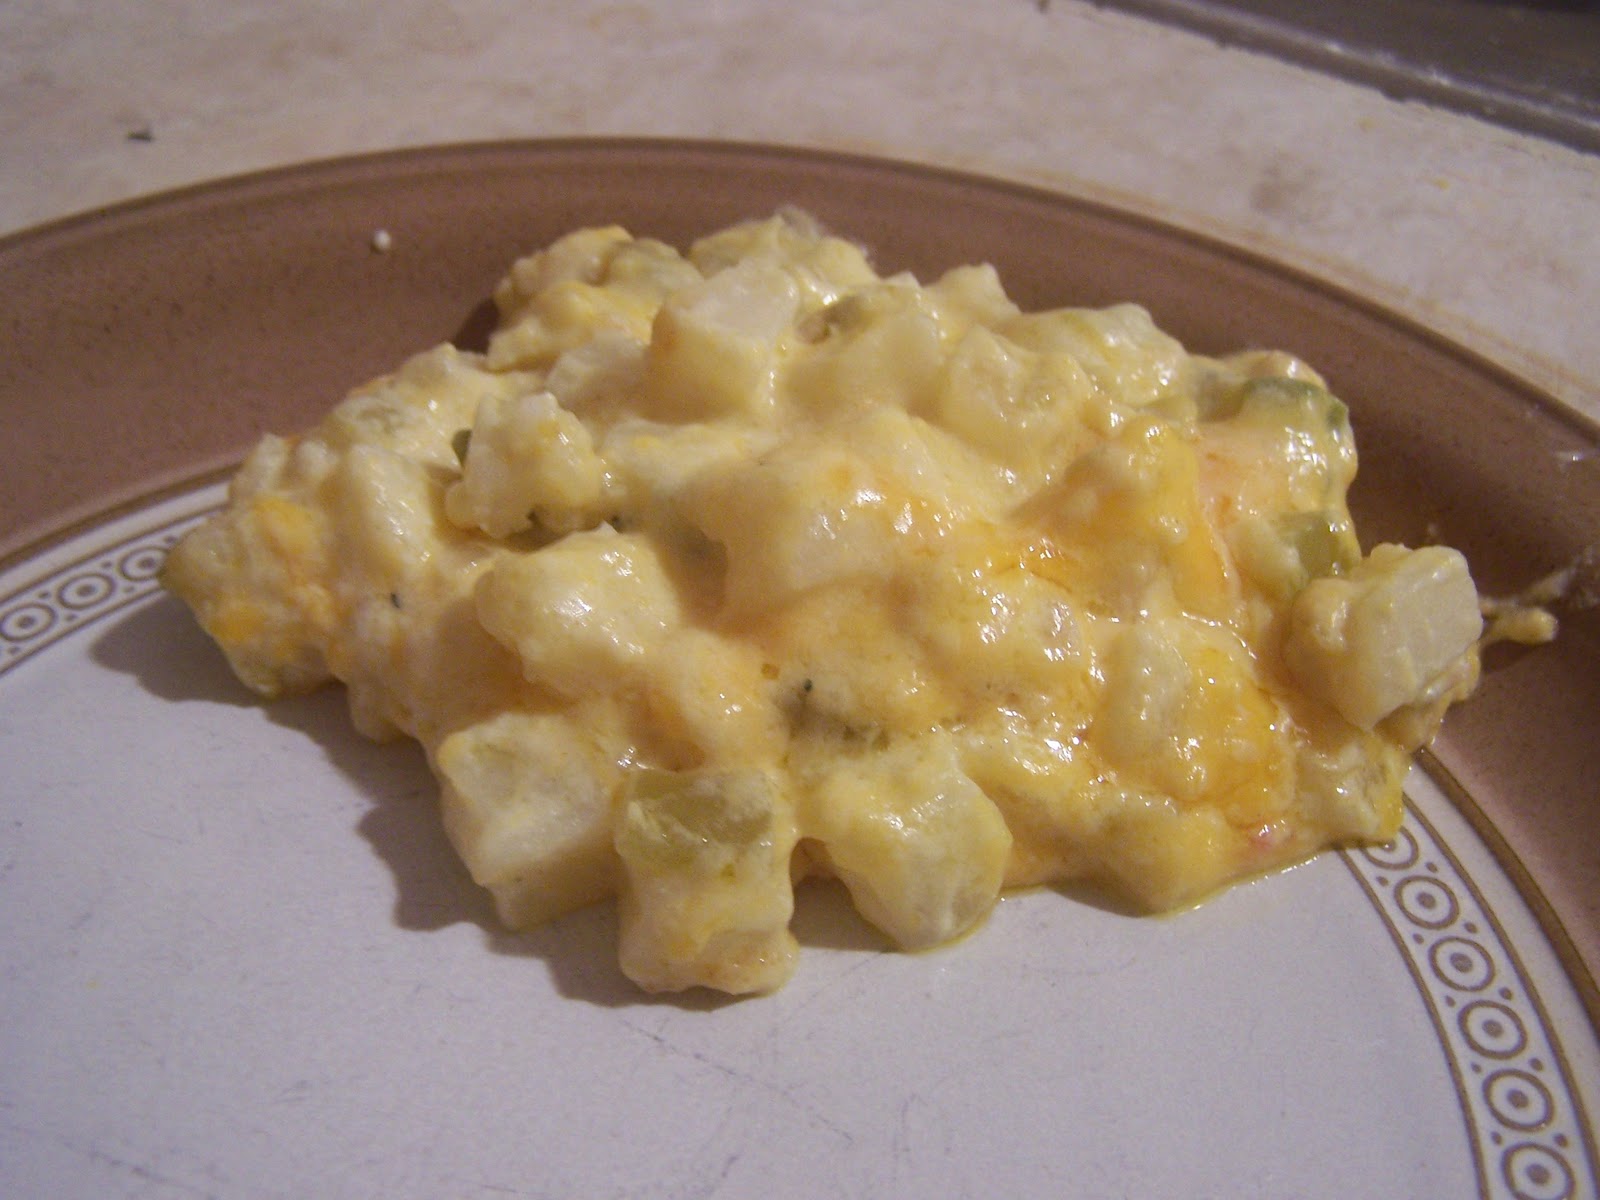
The Finished Product


Unfortunately, this isn't the kind of meal that take a great picture! I won't even say what that looks like. :) You'll have to trust me that it's good!
The Review
I didn't expect a lot from this recipe, mostly because it uses cream soup. So I was shocked by how good this was! The water chestnuts added a nice crunch and the chicken was really moist. My kids weren't thrilled about the water chestnuts, but other than that they all had second helpings. I love when a recipe surprises me like this one did. I tried it because I need something new to cook, not because it looked super yummy. So it was a bonus all around. Grade B+.